Shape Elements
codepen practice pageintro: shape elements
The shape elements provide the foundational visual building blocks of an SVG. You can think of the shape elements as the raw material that we're going to use to create our images, graphics, animations, and interactive objects
In this section we'll discuss the basic shape elements and their attributes.
svg element
Before we learn about the shape elements, let's create a basic SVG in our starter codepen practice page. We'll start with the <svg> element, which is the parent container for all our shape elements.
1
2
<svg>
</svg>
Now we’ll define the viewport, which is just the width and height of the svg on the page that contains it.
width="<width>" height="<height>"
1
2
<svg width="500" height="500">
</svg>
There are other attributes that we can add to our svg element, like viewbox and namespace, but this is all we need for now. We'll learn about some advanced svg attributes in our syntax chapter.
shape attributes
All shapes have a number of attributes that are used to define how they look. These attributes fall into one of two catagories:
Geometric Attributes: These define the position, size, and shape of the element. So an attribute that sets the x and y coordinates, or the width and height would be considered a geometric attribute. Each shape has it's own specific set of geometric attributes.
Presentation Attributes: These define the visual style of the SVG elements, such as color, stroke, fill, opacity, etc. These attributes are universal and can be used with any shape element.
In this section we'll focus on the geometric attributes for each shape. A more detailed discussion of the presentation attributes can be found in the presentation attributes chapter .
circle
- cx, cy: the x and y coordinates of the center of the circle
- r: radius
1
2
3
<svg width="500" height="500" viewbox="0 0 500 500">
  <circle cx="250" cy="250" r="200" fill="orange" />
</svg>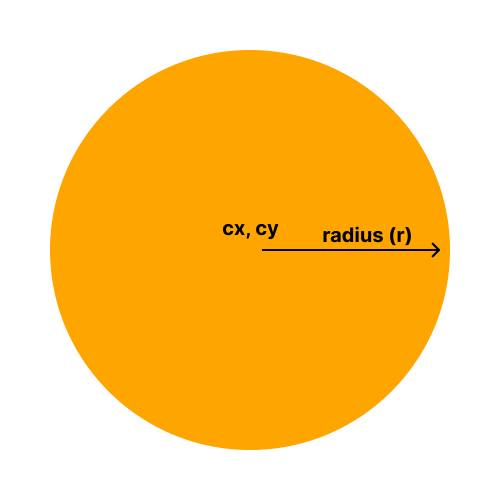
ellipse
- cx, cy: the x and y coordinates of the center of the ellipse
- rx: the radius of the ellipse along the x axis
- ry: the radius of the ellipse along the y axis
1
2
3
<svg width="500" height="500" viewbox="0 0 500 500">
  <ellipse cx="250" cy="250" rx="200" ry="100" fill="orange" />
</svg>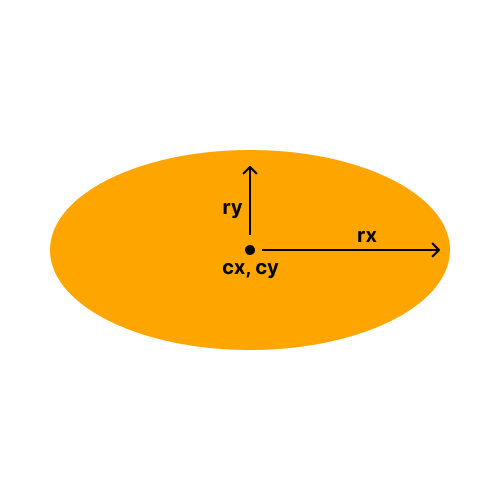
rectangle
- x, y: the x and y coordinates of the upper left corner of the rectangle
- width: width
- height: height
1
2
3
<svg width="500" height="500" viewbox="0 0 500 500">
  <rect x="50" y="50" width="400" height="400" fill="orange"></rect>
</svg>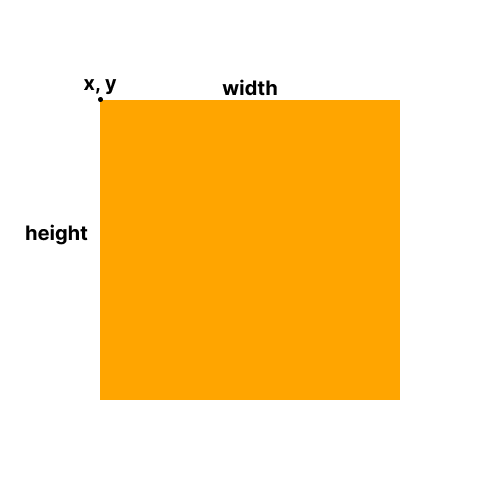
rectangle (rounded)
- x, y: the x and y coordinates of the upper left hand cornder of the rectangle
- width: width
- height: height
- rx, ry: the radius of the circle that defines the corners
1
2
3
4
5
6
7
8
9
10
11
<svg width="500" height="500" viewbox="0 0 500 500">
  <rect
    x="50"
    y="50"
    width="400"
    height="400"
    rx="20"
    ry="20"
    fill="orange"
  ></rect>
</svg>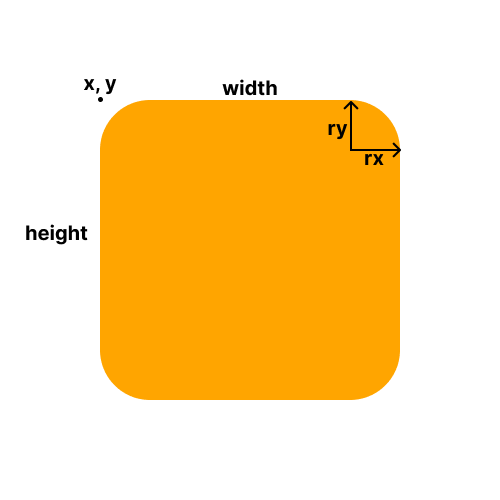
line
- x1, y1: the x and y coordinates of the starting point
- x2, y2: the x and y coordinates of the end point
1
2
3
<svg width="500" height="500" viewbox="0 0 500 500">
  <line x1="100" y1="100" x2="400" y2="400" stroke="black" />
</svg>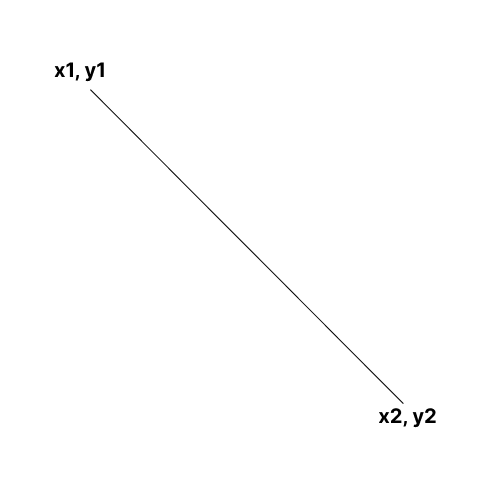
polyline
- points: the x and y coordinates for all the points that define the line
1
2
3
4
5
6
7
<svg width="500" height="500" viewbox="0 0 500 500">
  <polyline
    points="60,60 90,390 140,70 190,414 240,70 290,350 340,60 390,265 440,80"
    stroke="black"
    fill="none"
  />
</svg>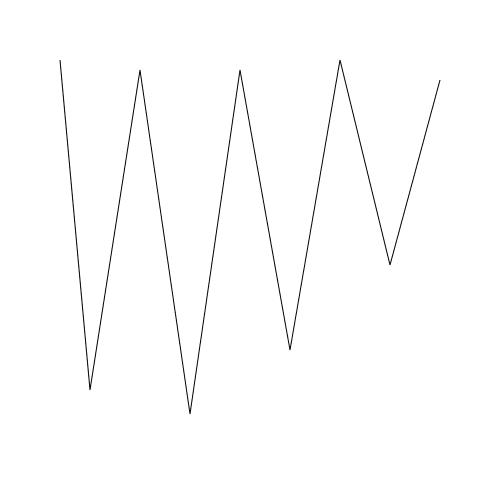
1
2
3
4
5
6
7
<svg width="500" height="500" viewbox="0 0 500 500">
  <polyline
    points="60,60 90,390 140,70 190,414 240,70 290,350 340,60 390,265 440,80"
    stroke="black"
    fill="orange"
  />
</svg>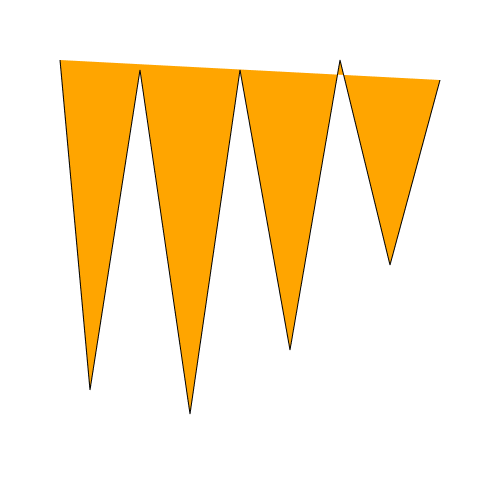
polygon
- points: the x and y coordinates for all the points that define the line
- stroke: the stroke color of the line
1
2
3
4
5
6
7
<svg width="500" height="500" viewbox="0 0 500 500">
  <polygon
    points="60,60 240,215 440,60 440,340 340,440 140,430 60,340"
    fill="none"
    stroke="black"
  />
</svg>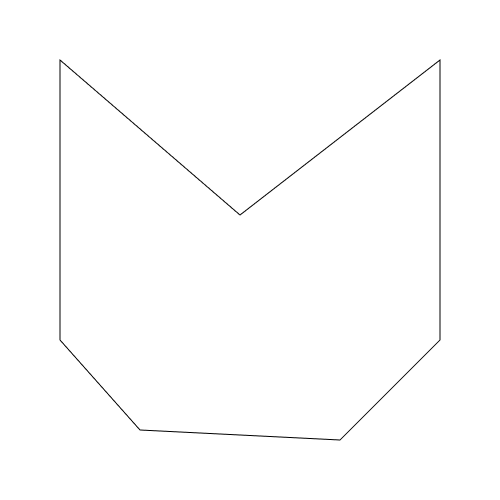
image
The image element allows you to add bitmap images - pngs or jpegs - to your svg.
- href: the image path
- x horizontal position
- y vertical position
- width: width
- height: height
1
2
3
4
5
<svg width="500" height="500" viewbox="0 0 500 500">
  <image
      href="https://plus.unsplash.com/premium_vector-1724876723896..."
      x="50" y="50" height="400" width="400" />
</svg>
*note
The image element also has a preserveAspectRatio attribute that may affect it's appearance. Please refer to the aspect ratio lesson for more information.
path
The path is the most powerful shape element, allowing for the most visual complexity. We’ll be exploring the path element in detail in the next section.

stacking order
Shapes are stacked in order of appearance, with later elements on top.
1
2
3
4
<svg width="500" height="500" viewbox="0 0 500 500">
  <rect x="200" y="100" width="200" height="200" fill="lightgrey"></rect>
  <circle cx="200" cy="300" r="100" fill="orange" />
</svg>