Aspect Ratio
Aspect Ratio codepen practice pagenote:
The majority of this section discusses aspec-ratio in terms of the entire SVG, but towards the end we'll briefly discuss how it applies to the image element.
overview
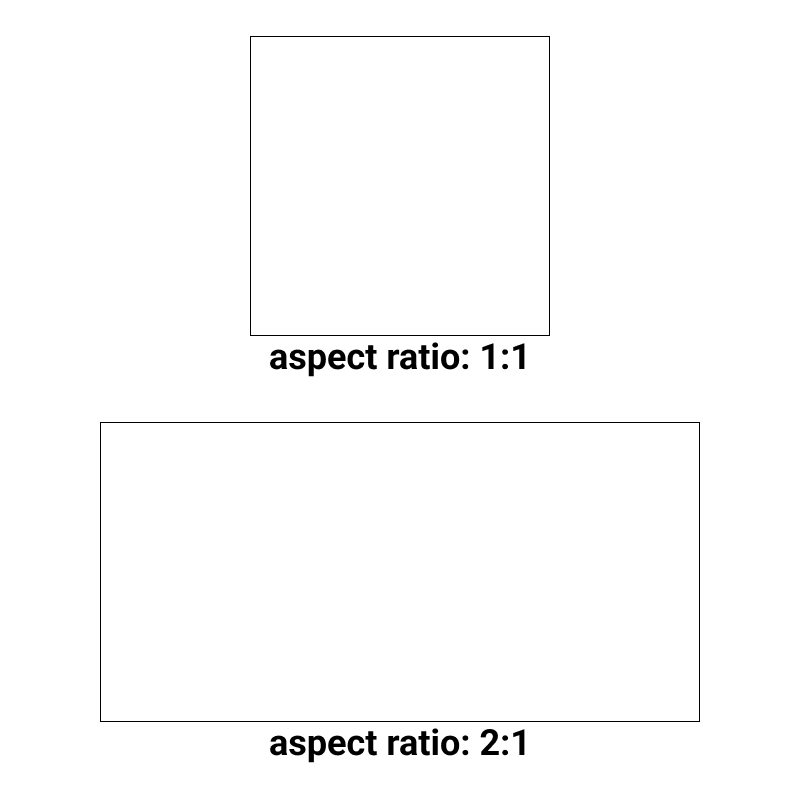
The aspect ratio is the ratio of an objects width to it's height. In this example the aspect ratio of the top box, where the width = height, is 1:1. The bottom box is twice as wide as it is tall, so the aspect ratio is 2:1

different aspect ratios
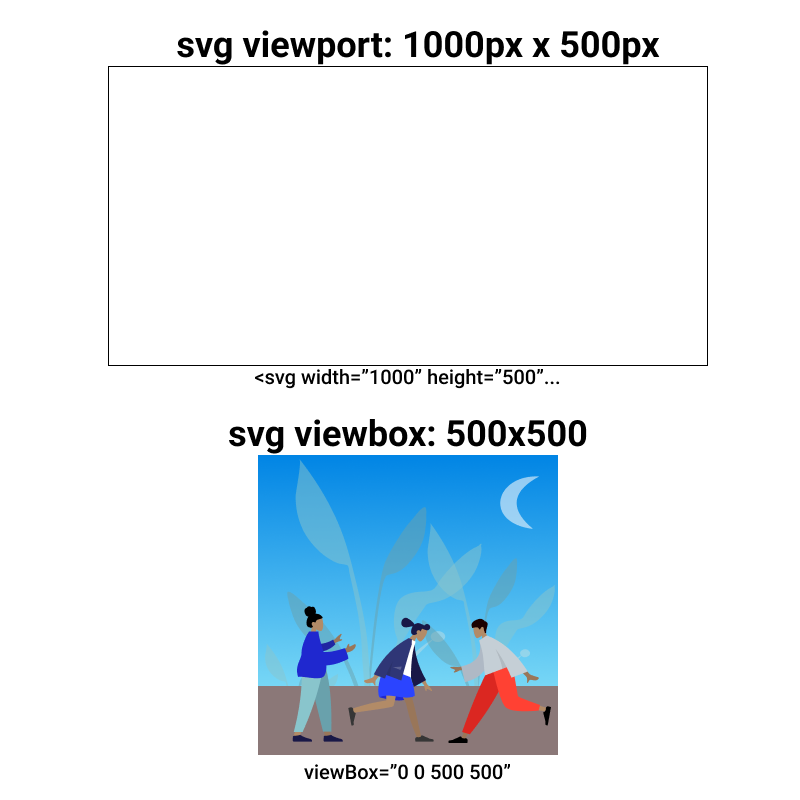
Imagine that you have an svg where the aspect ratio of the viewbox and viewport (svg width and height) are different. For example, what if the viewbox is square (500 500) and the viewport is landscape rectangular (width=1000px height=500px). How will the svg be displayed?
<svg width="1000px" height="500px" viewbox="0 0 500 500">...

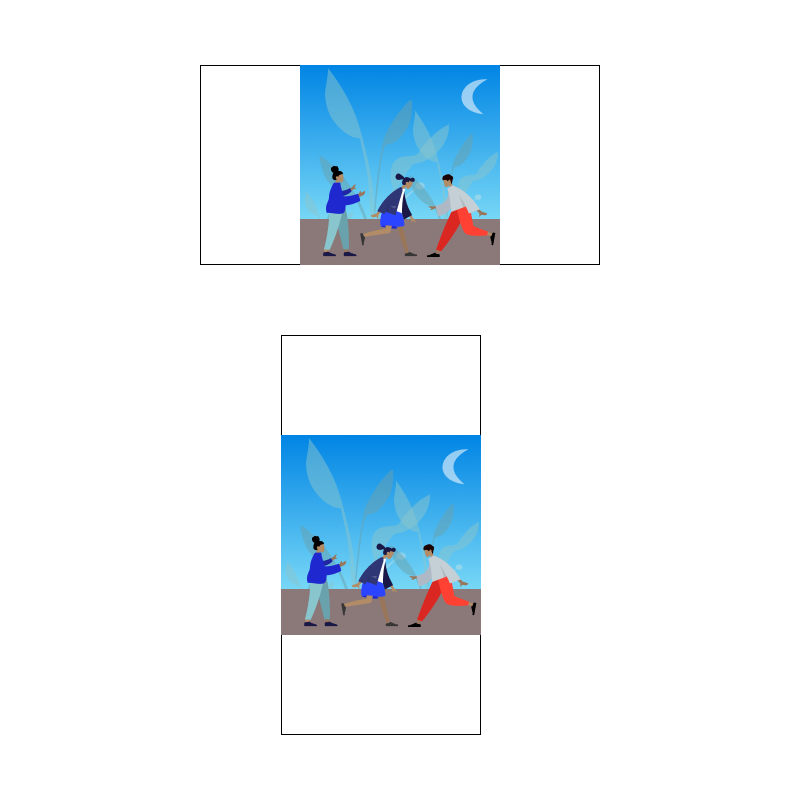
Without any type of css the svg will occupy the center of the container, like this.
The default behavior: When the aspect ratio of the svg is different from that of the viewport, the image shrinks so that all of the image is visible This behavior can be changed with the preserveAspectRatio attribute.

preserveAspectRatio
Using the preserveAspectRatio attribute, you can make the svg image
(1) stretch to fill the viewport,
(2) expand to fill the viewport without changing the aspect ratio, or
(3) shrink down to a size where the entire image is visible without changing the aspect ratio,

The preserveAspectRatio is actually made up of three different values
preserveAspectRatio= "<x-alignment><y-alignment> <meet or slice>"
x-alignment describes how the svg will align with the viewport on the x-axis
y-alignment describes how the svg will align with the viewport on the y-axis
meet or slice describes weather the image will scale down so that the entire svg is visible, or scale up so that svg covers the entire viewport
The default value is xMidyMid meet. In other words, the image aligns to the middle of the viewport on the x-axis (xMid), it aligns to the middle of the container on the y-axis (yMid), and the image scales down so that it's entirely visible within the container (meet).
preserveAspectRatio="xMidyMid meet"
1
2
3
4
5
6
<svg
   width="500px"
   height="250px"
   viewbox="0 0 500"
   preserveAspectRatio="xMidYMid meet">...
</svg>
alignment examples
Let's change the x-alignment to xMin, so that the image aligns to the minimum x position of the viewport.
1
2
3
4
5
6
<svg
   width="500px"
   height="250px"
   viewbox="0 0 500"
   preserveAspectRatio="xMinYMid meet">...
</svg>
Now let's change the x-alignment to xMax, so that the image aligns to the maximum x position of the viewport.
1
2
3
4
5
6
<svg
   width="500px"
   height="250px"
   viewbox="0 0 500"
   preserveAspectRatio="xMaxYMid meet">...
</svg>
The y-alignment works exactly the same. This is what a yMax SVG can look like:
1
2
3
4
5
6
<svg
   width="250px"
   height="500px"
   viewbox="0 0 500"
   preserveAspectRatio="xMidYMax meet">...
</svg>
meet vs. slice examples
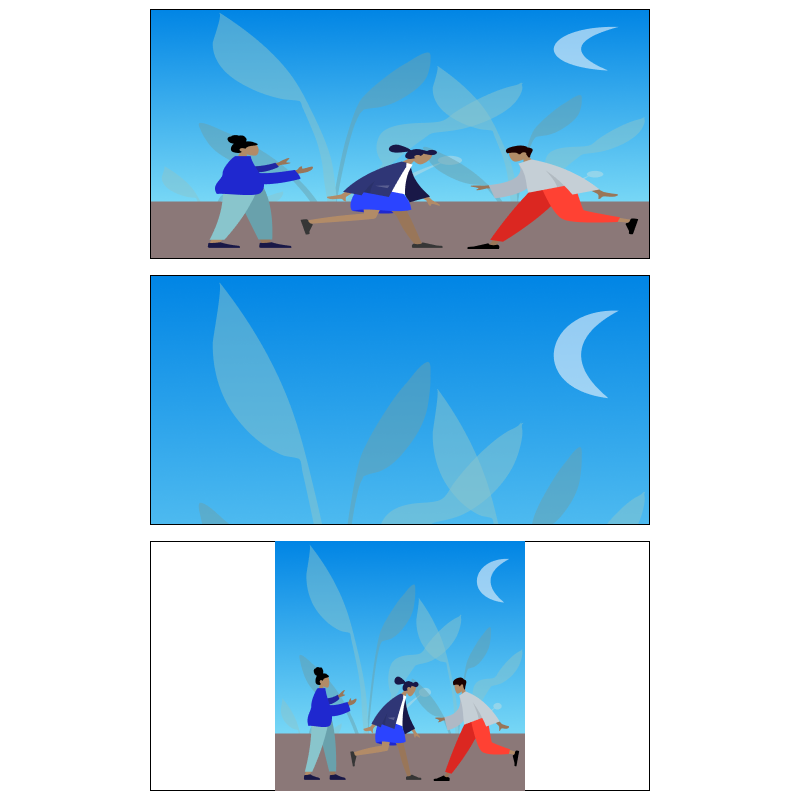
Now let's change the "meetOrSlice" value to slice. As you can see, the image scales up so that it fills the entire viewport. The the image is bigger vertically than the viewport, so you can only see a "slice" of it. Since the y-alignment is yMid the center of the image is aligned to the center of the viewport on the y-axis.
1
2
3
4
5
6
<svg
   width="500px"
   height="250px"
   viewbox="0 0 500"
   preserveAspectRatio="xMidYMid slice">...
</svg>
If we change the y-alignment value to yMin, the top of the image is aligned to the top of the viewport
1
2
3
4
5
6
<svg
   width="500px"
   height="250px"
   viewbox="0 0 500"
   preserveAspectRatio="xMidYMin slice">...
</svg>
Let's change the example a bit so that the container is in landscape mode. The principles are all the same.
1
2
3
4
5
6
<svg
   width="250px"
   height="500px"
   viewbox="0 0 500"
   preserveAspectRatio="xMidYMid slice">...
</svg>
1
2
3
4
5
6
<svg
width="250px"
height="500px"
viewbox="0 0 500"
preserveAspectRatio="xMinYMid slice">...
</svg>But what if you don't care about the aspect ratio, and you just want the image to fill the container? Just set preserveAspectRatio to "none".
1
2
3
4
5
6
<svg
   width="250px"
   height="500px"
   viewbox="0 0 500"
   preserveAspectRatio="none">...
</svg>
1
2
3
4
5
6
<svg
   width="500px"
   height="250px"
   viewbox="0 0 500"
   preserveAspectRatio="none">...
</svg>
Images
The preserveAspectRatio attribute can also be used with the image element. The examples below have a rectangle the same width, height, and position as the image so you can see the effect of using preserveAspectRatio.
xMidYMid meet
<image
    href="https://images.unsplash.com..."
    x="100"
    y="100"
    width="300"
    height="300"
    preserveAspectRatio="xMidYMid meet"
  />
xMidYMid slice
<image
    href="https://images.unsplash.com..."
    x="100"
    y="100"
    width="300"
    height="300"
    preserveAspectRatio="xMidYMid slice"
  />
xMinYMin meet
<image
    href="https://images.unsplash.com..."
    x="100"
    y="100"
    width="300"
    height="300"
    preserveAspectRatio="xMinYMin meet"
  />