CSS Animation
CSS Animation codepen practice pageapplying css animations
The process for applying CSS animations to SVG elements is the same as that for HTML elements. Note that not all svg attributes are animateable. For example, while it’s possible to use CSS animations with SVG presentation attributes like fill and stroke, you may not be able to use CSS animations with geometric properties (properties that control the position and width of elements) with the current version of the SVG specification (1.1). A future version of the SVG specification, SVG 2, will make it possible to animate geometric properties as well. Unfortunately, at this time, browser implementation of the SVG 2 spec is hit or miss, so be careful!
transitions
CSS transitions allow you to define an animation when a CSS property changes from one value to another. For example, with html buttons it makes sense to define a different state for the button when the mouse pointer is hovering above it, so that the user knows that they can interact with it. Sudden changes in appearance of UI elements can seem jarring for the user, so transition animations are a useful technique for easing the change and enhancing the user’s experience.
If you’ve ever applied a CSS transition to an html element, you already know how this works. In your stylesheet, you need to define the following properties for the id/class you wish to animate.
transition properties
transition-property: The svg property you wish to animate. You can have multiple properties, separated by a comma.
transition-duration - transition time in seconds (2s) or milliseconds (2000ms)
transition-timing-function
- linear
- ease
- ease-in
- ease-out
- ease-in-out
- step
- cubic-bezier
transition-delay - delay in seconds (s) or milliseconds (ms).
structure of a css transition
Pure CSS transitions are usually triggered by some sort of user interaction - typically set up using the :hover: or ::focus: pseudo-class on whatever element you wish to animate. In the following example, we’ll set up a transition when the user hovers over a shape element.
.my-class {
    <some animatable property>: start-value;
    transition-property: animatable-property name;
    transition-duration: duration in seconds or ms;
    transition-timing-function: timing-function name;
    transition-delay: time in seconds or ms;
}

.my-class:hover {
    <some animatable property>: end-value;
}
fill and stroke-width transitions
Let's open up our starter codepen page so we can try out some transitions. We’ll need to create a class for the property that we wish to animate, along with all the transition properties Let's create a transistion that will change the fill and stroke of a circle.
We'll start off with a circle element with an id of "my-circle". Since there's no presentation attribute for fill the circle will show up black.
1
2
3
4
5
6
<svg width="300" height="300" viewbox="0 0 300 300">
   <circle
    id="my-circle"
    cx="250" cy="250"
    r="100"></circle>
</svg>
In the css section we'll add style to change the fill and stroke.
1
2
3
4
5
#my-circle {
  fill: orange;
  stroke: black;
  stroke-width: 1;
}
Let's set up the transitions for both stroke-width and fill:
1
2
3
4
5
6
7
8
9
#my-circle {
  fill: orange;
  stroke: black;
  stroke-width: 1;
  transition-property: stroke-width fill;
  transition-duration: 0.33s;
  transition-timing-function: linear;
  transition-delay: 0;
}
As a final step, we'll use the :hover pseudo-class to change the fill and stroke-width.
1
2
3
4
5
6
7
8
9
10
11
12
13
#my-circle {
  fill: orange;
  stroke: black;
  stroke-width: 1;
  transition-property: stroke-width fill;
  transition-duration: 0.33s;
  transition-timing-function: linear;
  transition-delay: 0;
}
#my-circle:hover {
  stroke-width: 10;
  fill: red;
}
hover over circle to see transition
stroke-dashoffset transitions
For this animation we'll create a circle with a stroke-dasharray, and set the stroke-dashoffset so that the stroke isn't visible.
1
2
3
4
5
6
7
8
9
10
11
#my-circle {
  fill: orange;
  stroke: black;
  stroke-width: 5;
  transition-property: stroke-dashoffset;
  transition-duration: 0.33s;
  transition-timing-function: linear;
  transition-delay: 0;
  stroke-dasharray: 100;
  stroke-dashoffset: 100;
}
For this effect it's important to set the circle's pathLength attribute to "100".
1
2
3
4
5
<svg width="500" height="500" viewbox="0 0 300 300">
  <circle id="my-circle"
    cx="150" cy="150" r="100"
    pathLength="100"></circle>
</svg>
Now let's add the transition for stroke-dashoffset and the :hover pseudo class:
1
2
3
4
5
6
7
8
9
10
11
12
13
14
#my-circle {
  fill: orange;
  stroke: black;
  stroke-width: 5;
  transition-property: stroke-dashoffset;
  transition-duration: 0.33s;
  transition-timing-function: linear;
  transition-delay: 0;
  stroke-dasharray: 100;
  stroke-dashoffset: 100;
}
#my-circle:hover {
  stroke-dashoffset: 0;
}
hover over circle to see transition
hover to see a similar but more complex stroke animation using letters.
*See the text stroke animation example in codepen
geometric property transitions
Note the absence of geometric properties in the circle element below:
1
2
3
<svg width="500" height="500" viewbox="0 0 300 300">
  <circle id="my-circle" fill="orange"></circle>
</svg>
In this example all of the geometric properties (cx, cy, and r) are defined in the css.
1
2
3
4
5
6
7
8
9
10
11
#my-circle {
  cx: 250px;
  cy: 250px;
  r: 150px;
  transition-property: r cy;
  transition-duration: 0.33s;
}
#my-circle:hover {
  r: 200px;
  cy:225px
}
hover over circle to see transition
NOTE: You’ll need to use ‘px’ units with geometric props in your styles to use them with your CSS at all. If you don't, your animations may not work, depending on your browser!!
keyframe animations
CSS keyframe animations are used when you want to create relatively complex css animations. The first step in creating a keyframe animation is to actually create the keyframes in CSS.
You can have as many 'interim' steps as you want, or you can just have a beginning value (0%) and and end value (100%)
@keyframes keyframes-name {
  0% {
    property-name: property-value;
  }

  percent value {
    property-name: property-value;
  }

  100% {
    property-name: property-value;
  }
}
After defining the keyframes, you apply them to a class using the animation properties.
.some-class {
  animation-name: keyframes-name;
  animation-duration: duration in seconds or ms;
  animation-timing-function: easing function;
  animation-iteration-count: some number|infinite;
  animation-direction: none|reverse|alternate|alternate-reverse;
  animation-fill-mode: none|forwards|backwards|both;
}
animation example
Let's create a sample zoom animation to make an element move in a triagular pattern. First we define the keyframes.
1
2
3
4
5
6
7
8
9
10
11
12
13
14
15
16
17
18
19
20
@keyframes zoom {
   0% {
       fill: red;
       cx: 250px;
       cy:125px;
   }
   33% {
       cx: 375px;
       cy:375px;
   }
   66% {
       cx: 125px;
       cy:375px;
   }
   100% {
       fill: blue;
       cx: 250px;
       cy:125px;
   }
}
Next we'll create a class that uses this animation.
1
2
3
4
5
6
7
.zoom-circle {
    animation-name: zoom;
    animation-duration: 5s;
    animation-timing-function: ease-in-out;
    animation-iteration-count: infinite;
    animation-direction: alternate-reverse;
}
Now we can add the class to the svg element we wish to animate.
1
2
3
4
5
<circle
    class="zoom-circle"
    cx="50" cy="50" r="50"
    fill="black"
    stroke="none"></circle>
timing functions
Easing functions for both transitions and keyframe animations define how an object moves. In the example at below, I’ve attempted to create an animation for a floating balloon. But there’s something wrong: The balloon doesn’t ease to a stop before changing direction - it looks more like it’s bouncing up and down.
1
2
3
4
5
6
7
#balloon {
   animation-name: float;
   animation-duration: 2s;
   animation-direction: alternate;
   animation-iteration-count: infinite;
   animation-timing-function: linear;
}
This animation has a linear timing function, causing it to move in a linear fashion. Its generally preferable to have animations move in a somewhat realistic way, as if the animated objects are bound by the laws of physics. Otherwise the animations can become jarring and distracting.
We can fix this by using an ease-in-out animation timing function:
1
2
3
4
#balloon {
   ...
   animation-timing-function: ease-in-out;
}
*See the balloon easing example in codepen
the different timing functions:
- linear - constant rate of speed
- easing-functions - speeds up/slows down over time
- ease-in (starts slowly)
- ease-out (ends slowly)
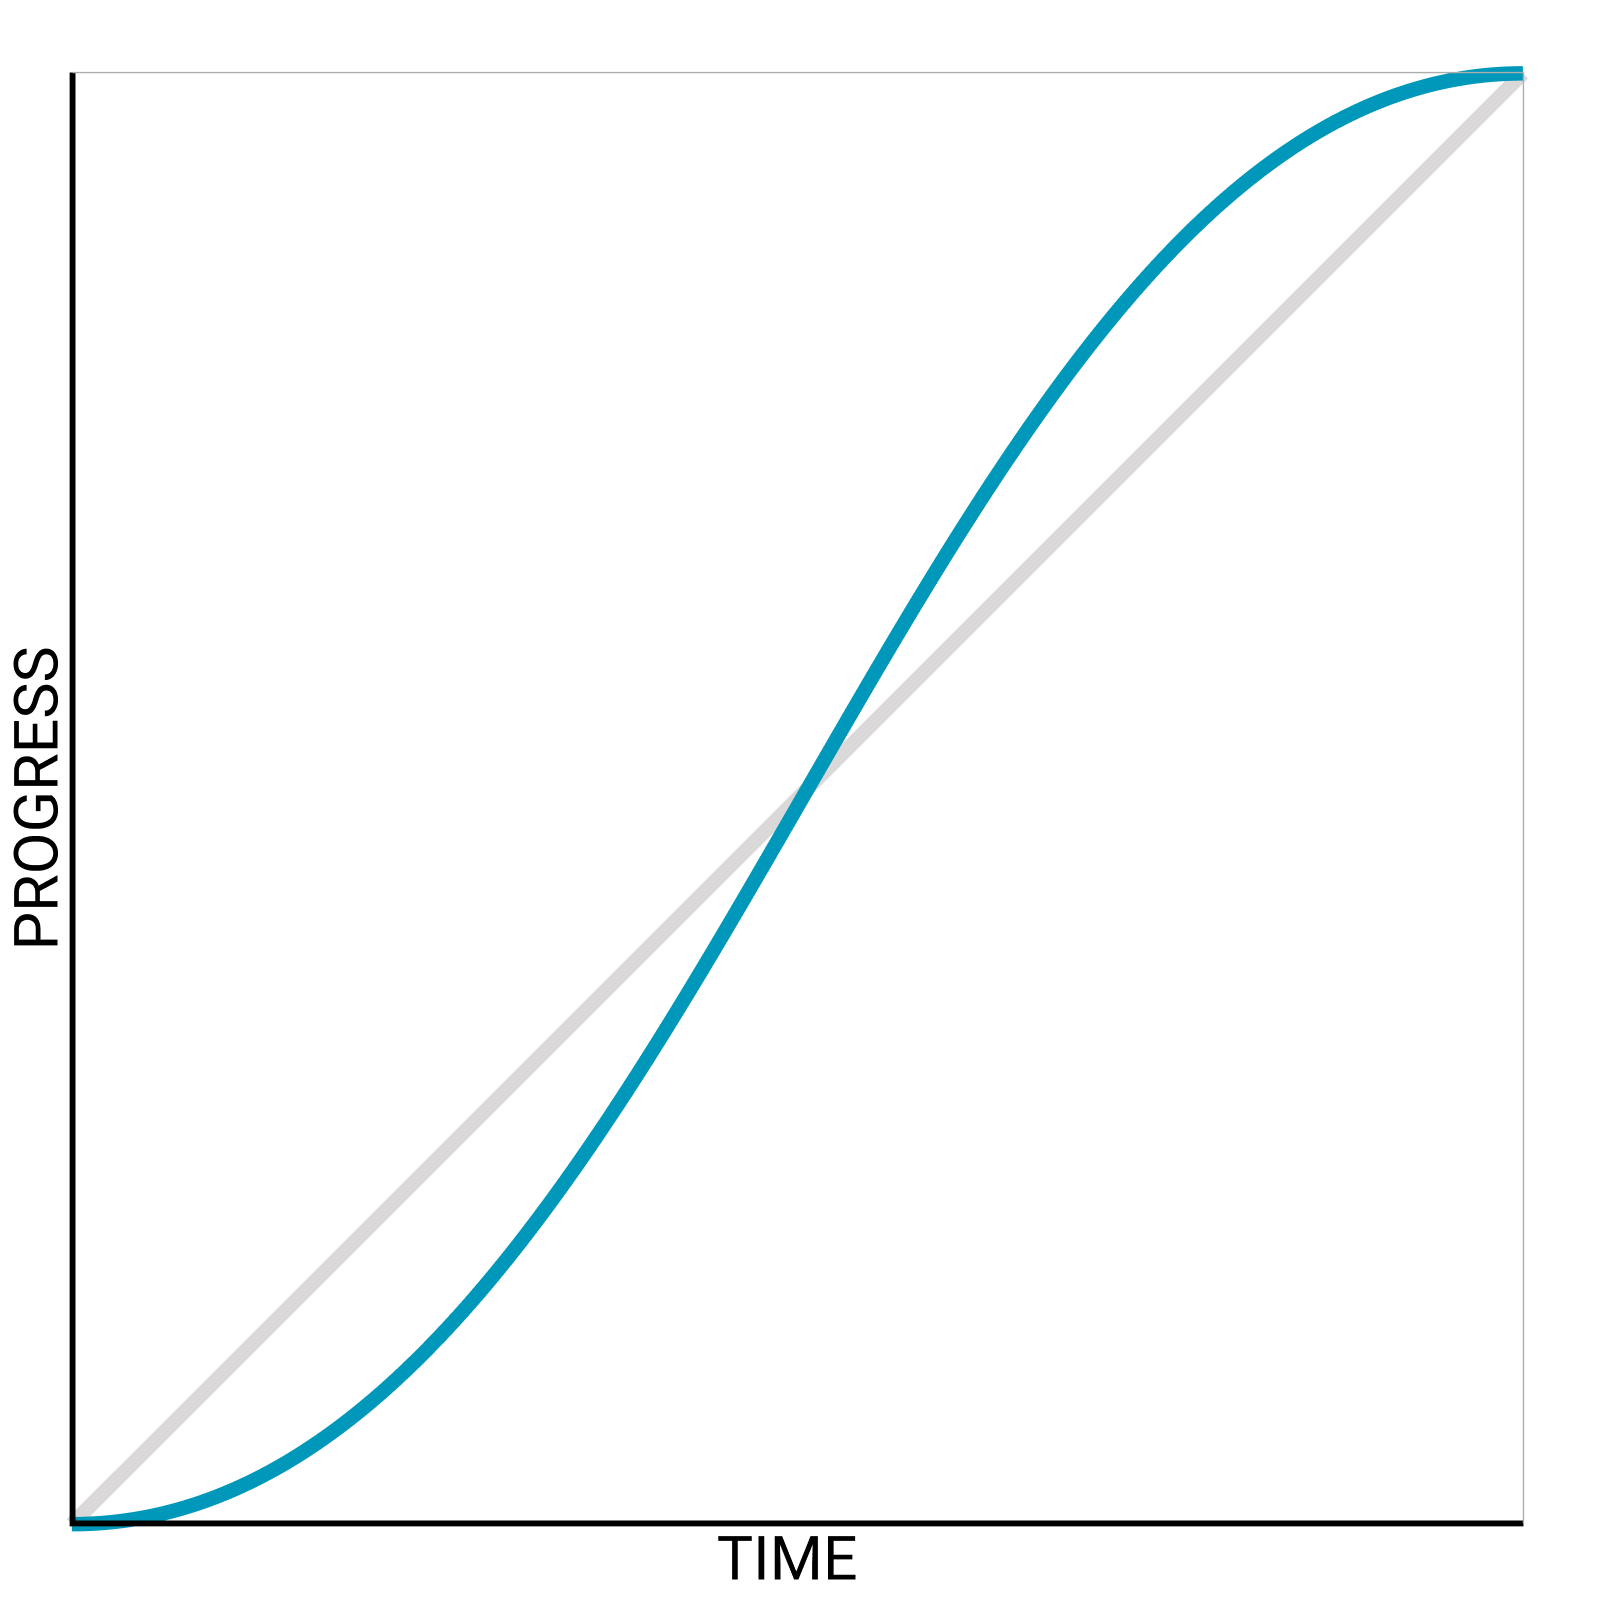
- ease-in-out (starts and ends slowly, more pronounced than ease)
- cubic-bezier
- step
cubic-bezier timing functions
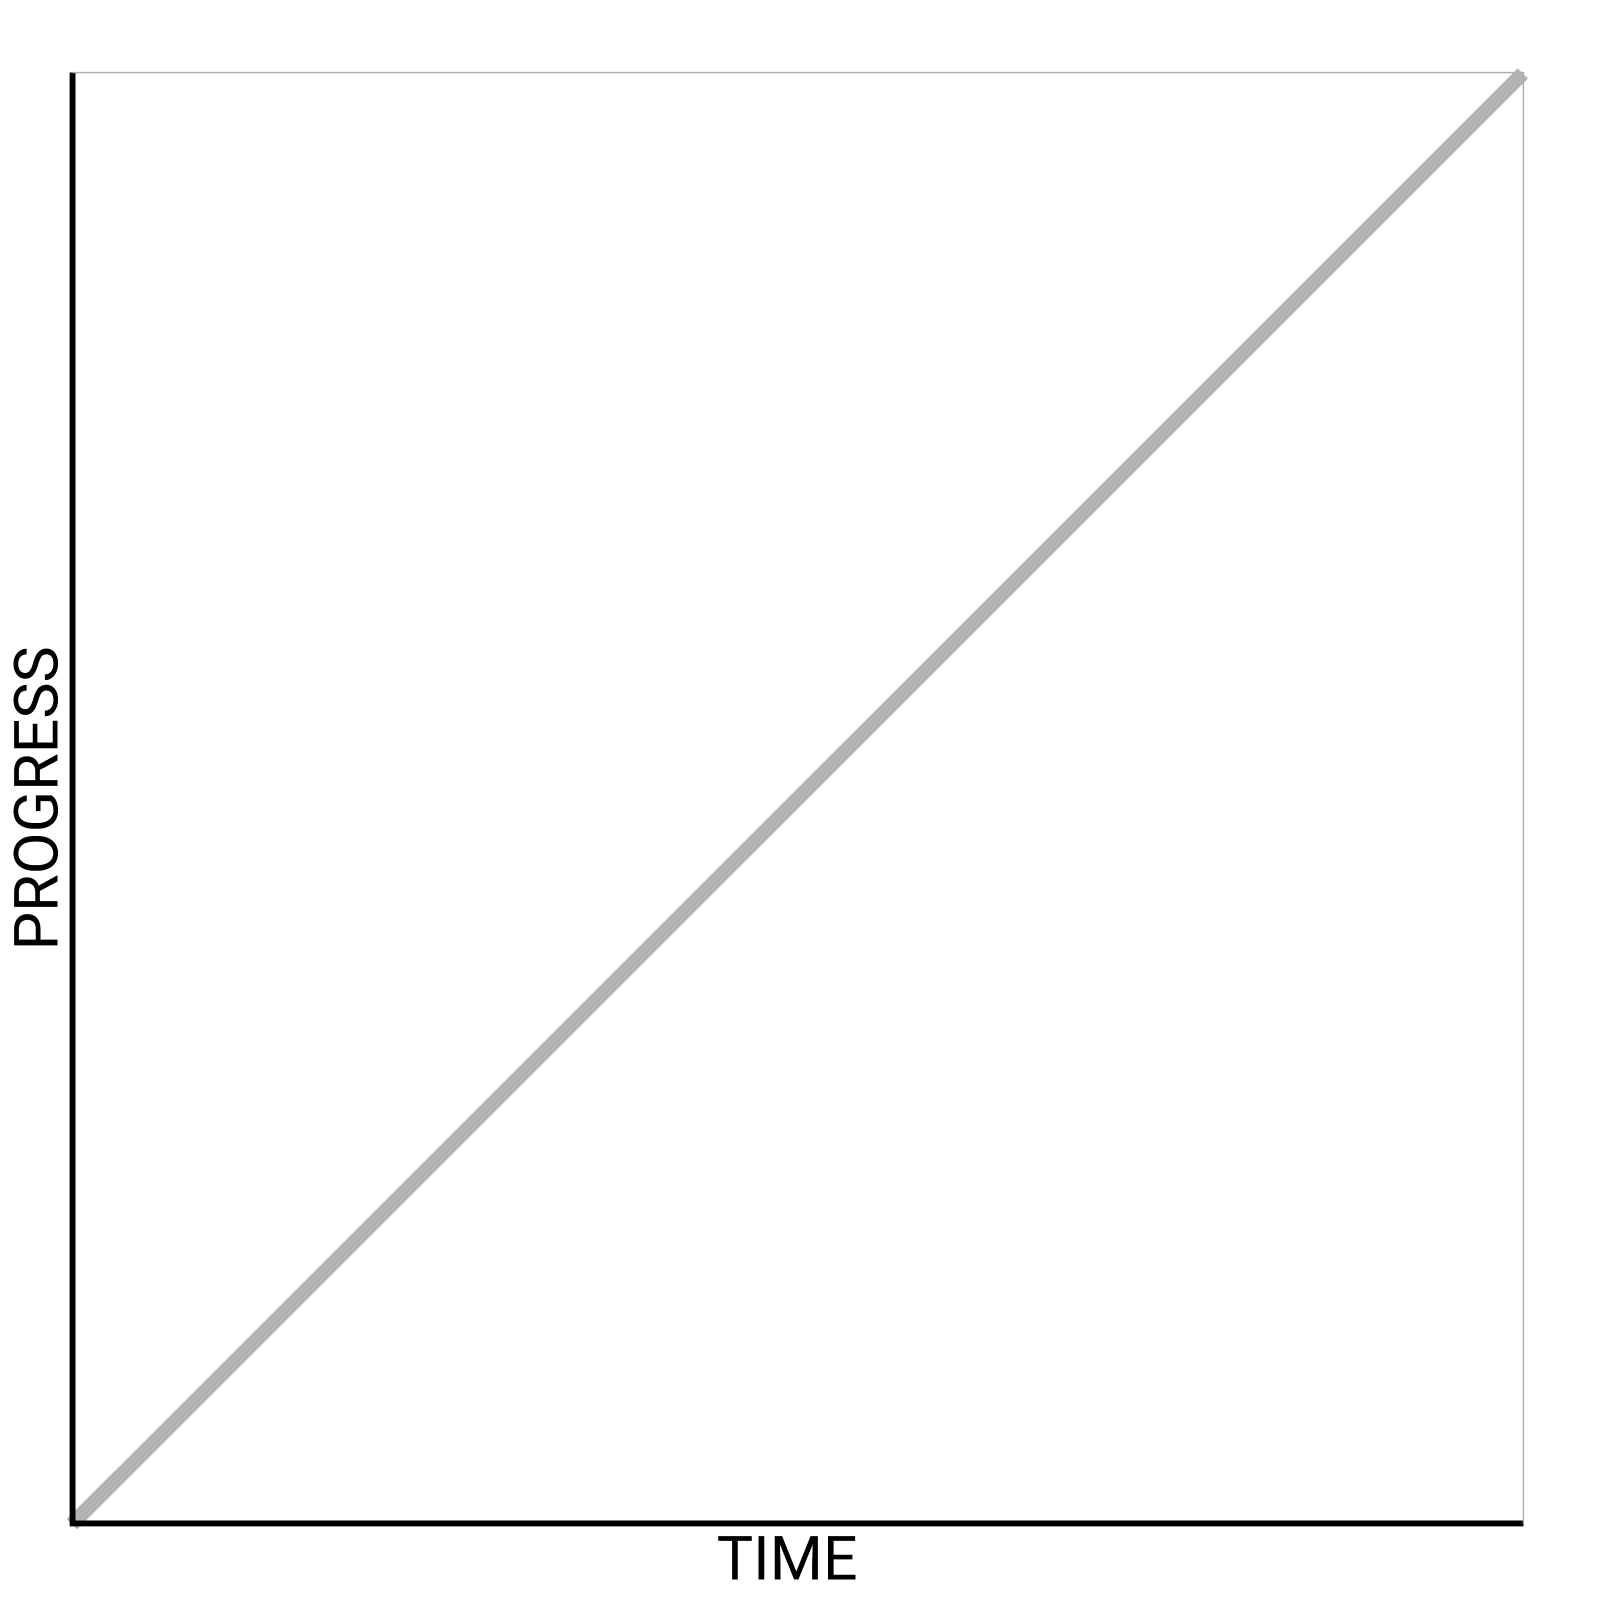
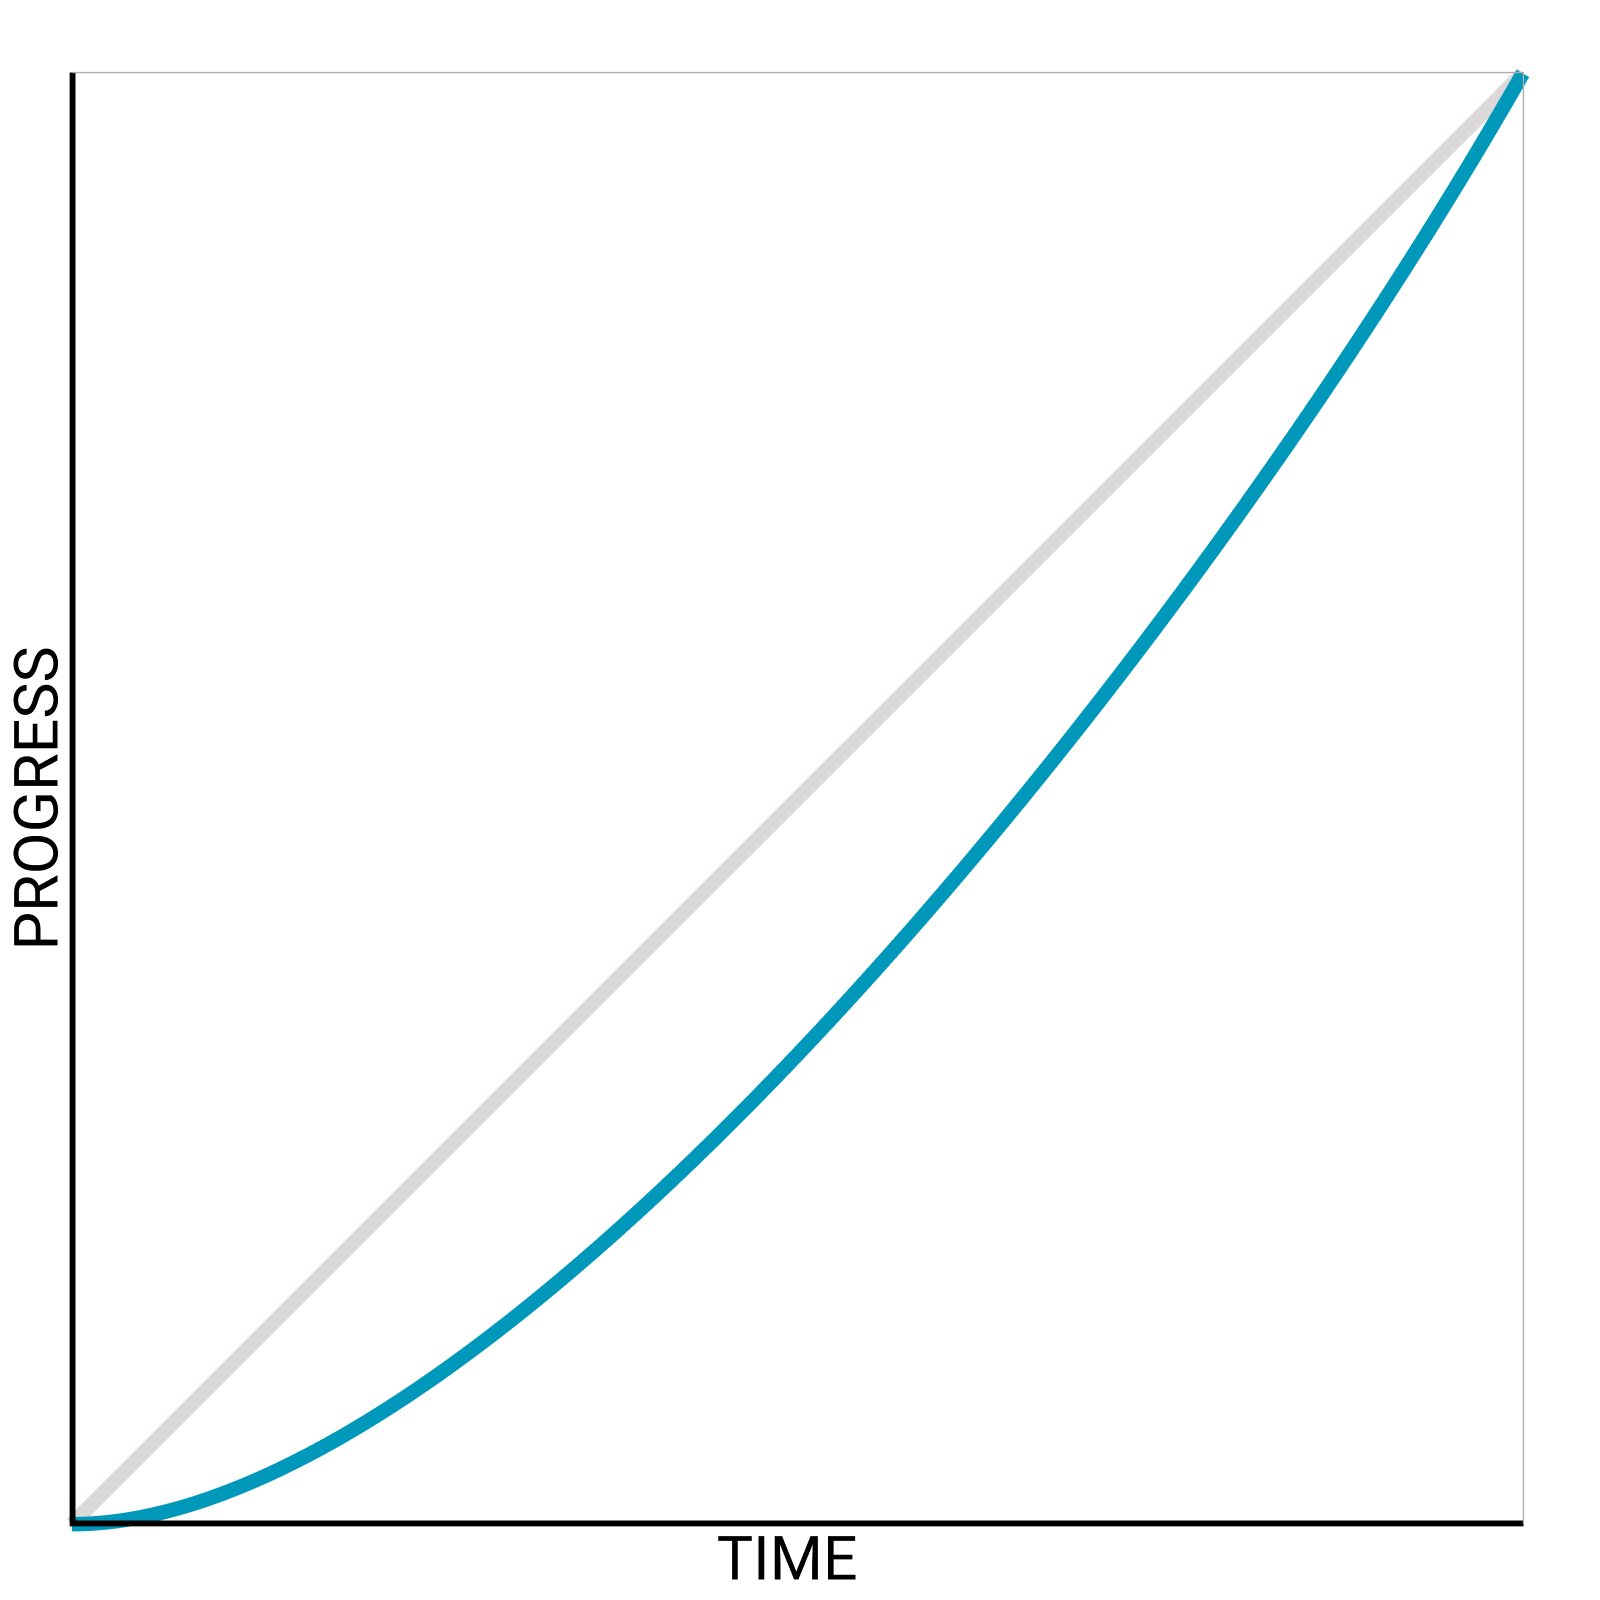
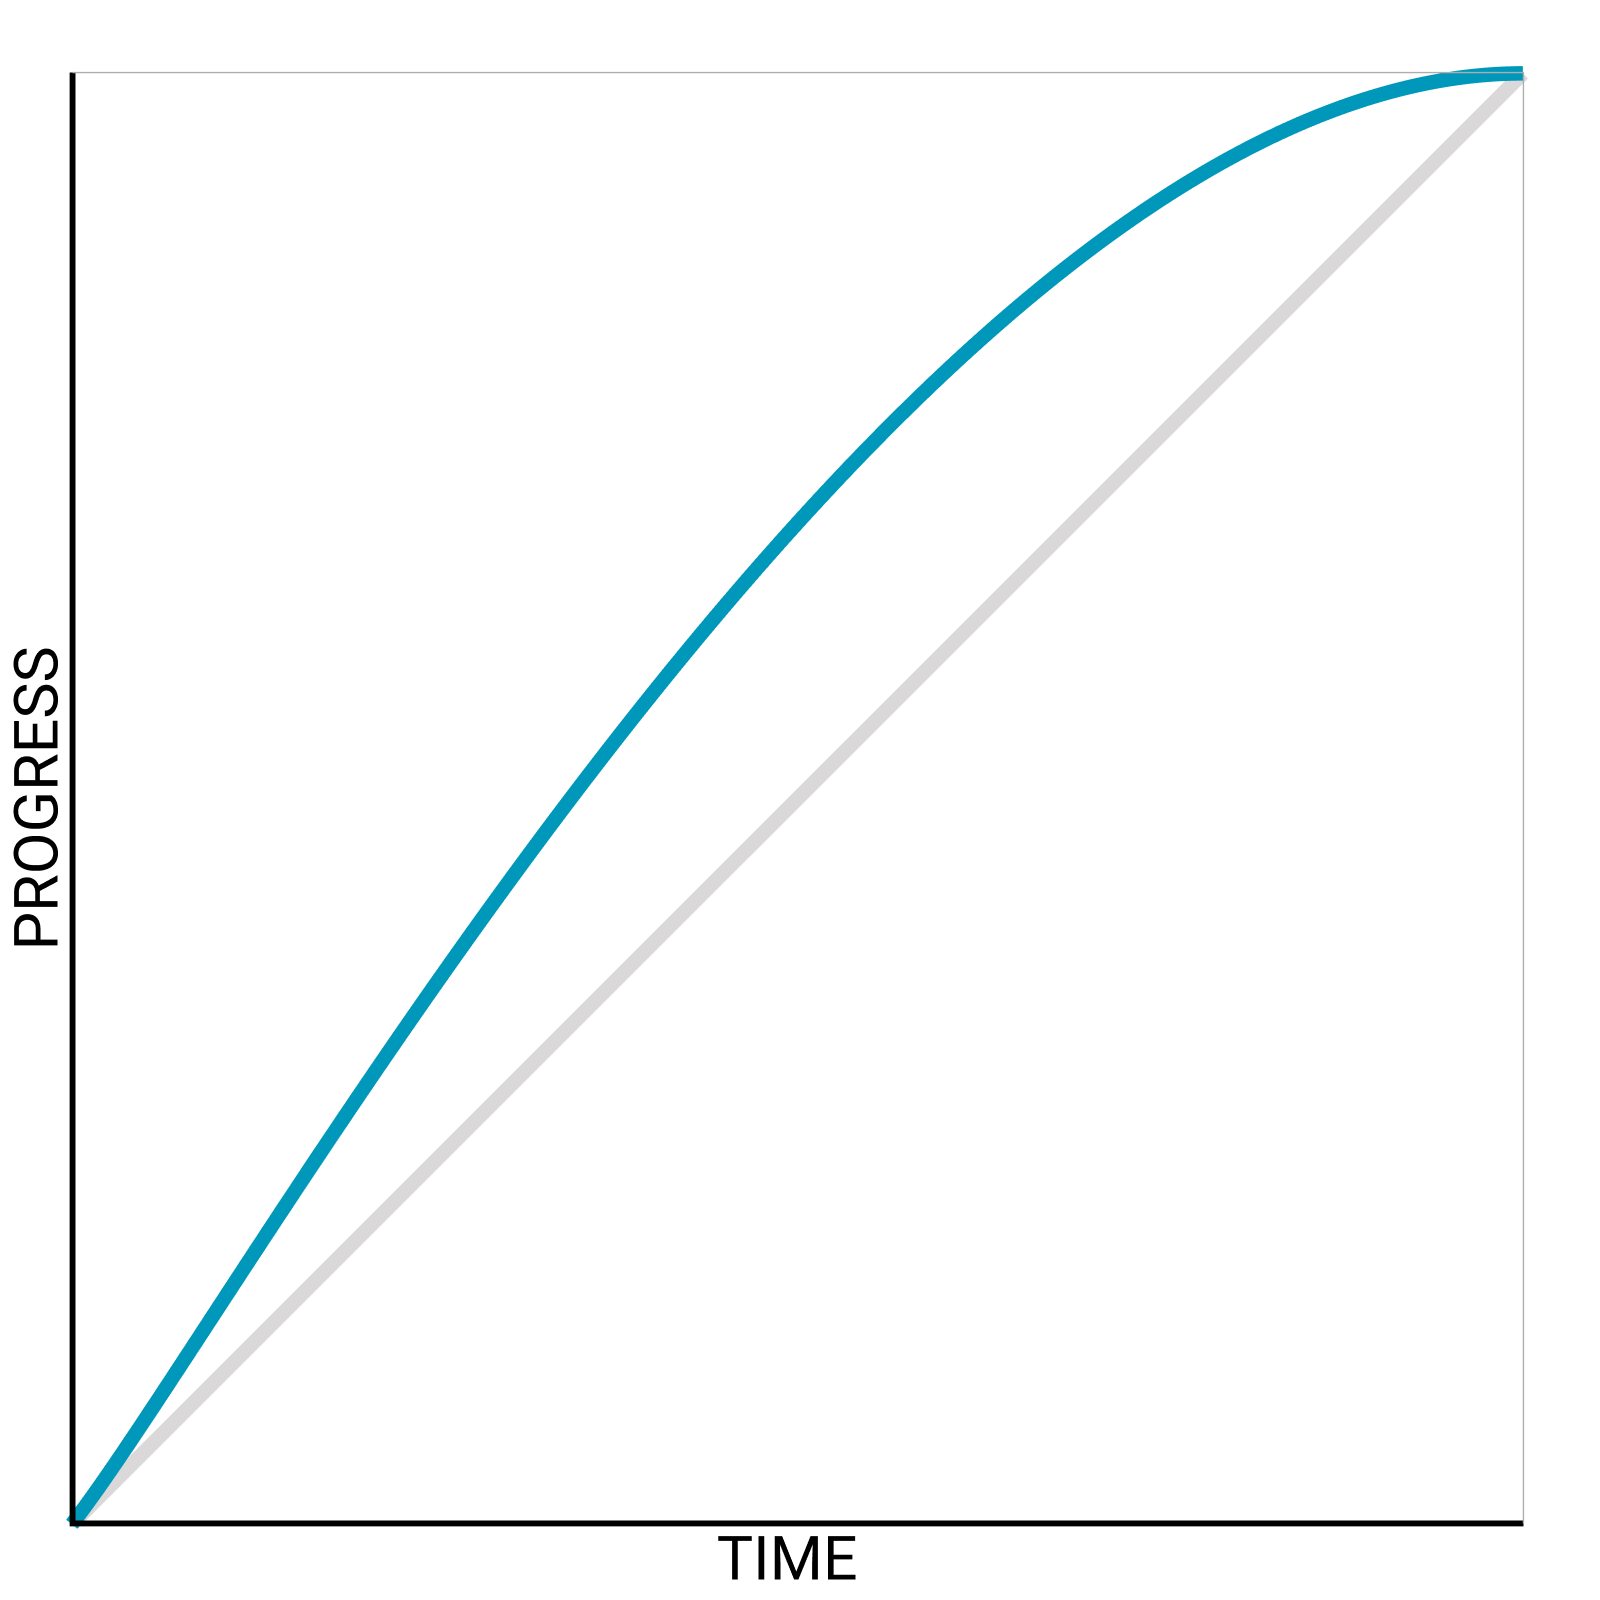
ALL of the easing options are actually defined by cubic-bezier functions, in which two “control points” are used to change the shape of the animation curve. The graphs help to visualize how the shape of the curve affects the pace of the animation.
linear
ease-in
ease-out
ease-in-out
custom cubic-bezier timing functions
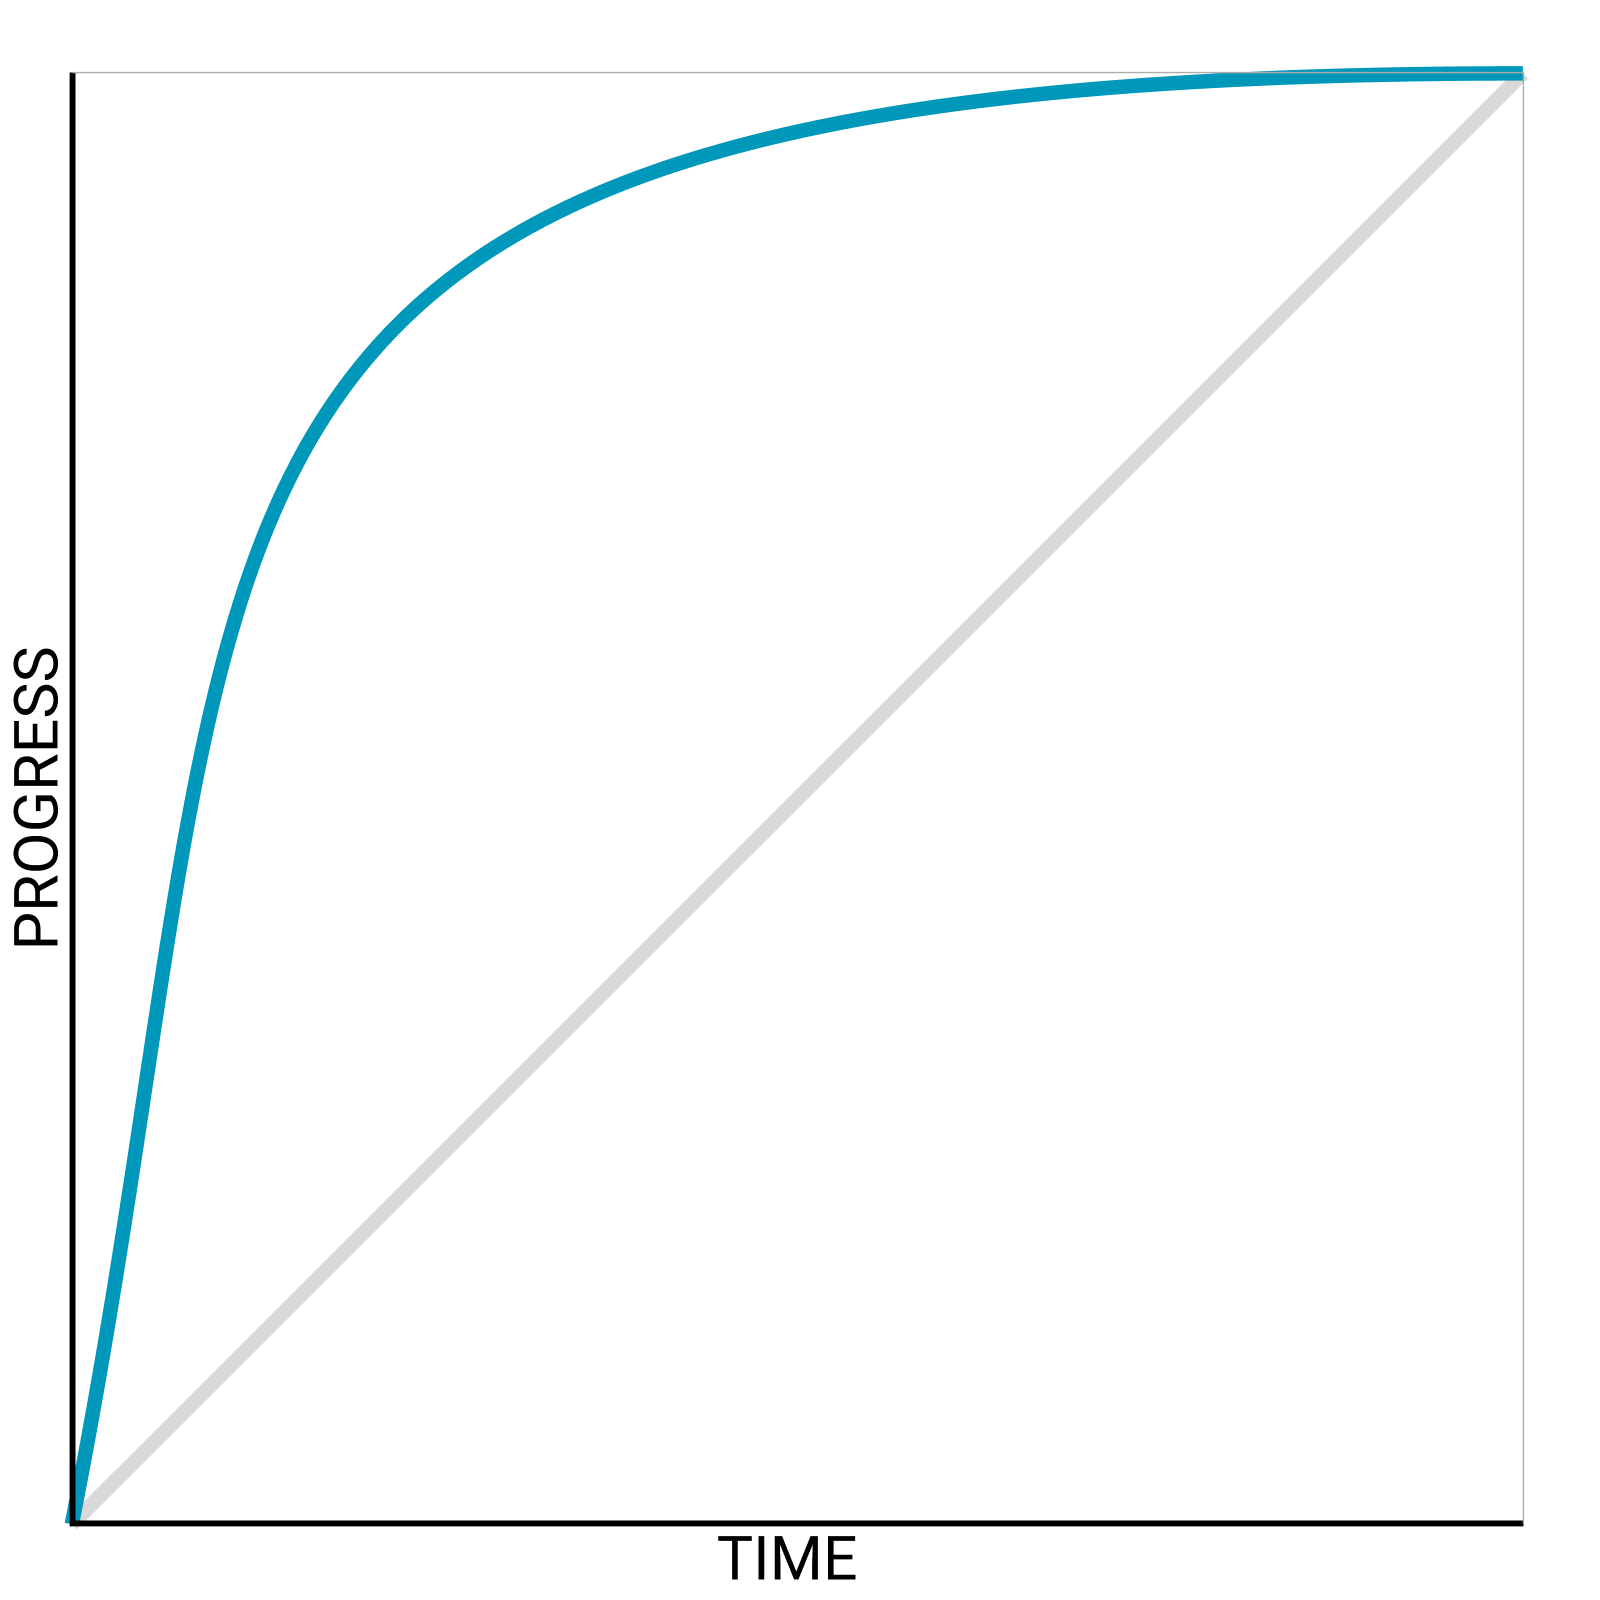
You can define your own easing functions as well by using a custom cubic-bezier easing curve.
A fantastic interactive resource for visualizing and experimenting with easing curves is cubic-bezier.com. Once you manipulate the control points to form the curve you want, you can see how your animation compares to the standard predefined animation curves. Once you find something you like, just click the copy and paste the cubic-bezier value into your CSS.
animation-timing-function: cubic-bezier(0.13, 0.74, 0, 1);
